ProductCart 5.x stores support a feature known as "Customizable Product Detail Pages." This feature allows a merchant to set up a product in whatever layout is desired. A few features of the of custom product details pages are as follows:
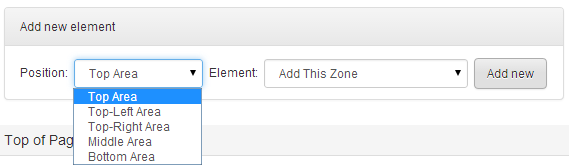
To add elements to the top, middle, or bottom areas, use the Add new element toolbox:
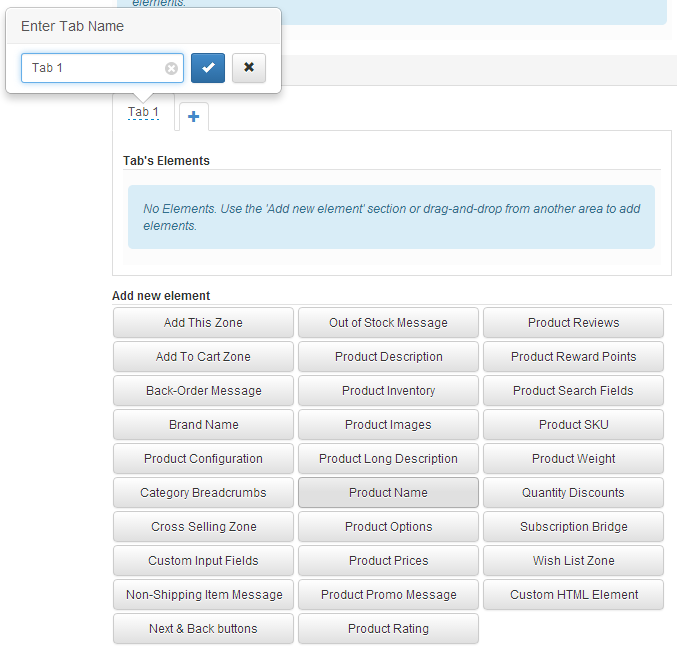
And top add elements to the tab area, first add a tab (if you don't have one already), give it a name, and use the Add new element toolbox below the tabs area:
Once you have added elements to your layout, you can drop and drop to re-order them and move them between any of the areas (including tabs):
Once you've setup a layout that you like on one of your products, you can then apply it to other products however you need. To do so, scroll to the top of the Product Page Layout tab and use the tools in this section:
There are several actions you can perform on a custom layout if you choose to do so.
- Customize elements or zones and place them anywhere on the page.
- Add an unlimited amount of tabs to any given product.
- Take the current product layout and customize it or with or without the default tabs.
Walk through: How to Setup a Custom Product Layout
Setting up a custom product layout is relatively easy and straightforward. The following screenshots give a good overview of the steps required to set up a custom product layout and apply that layout to other products if you'd like.
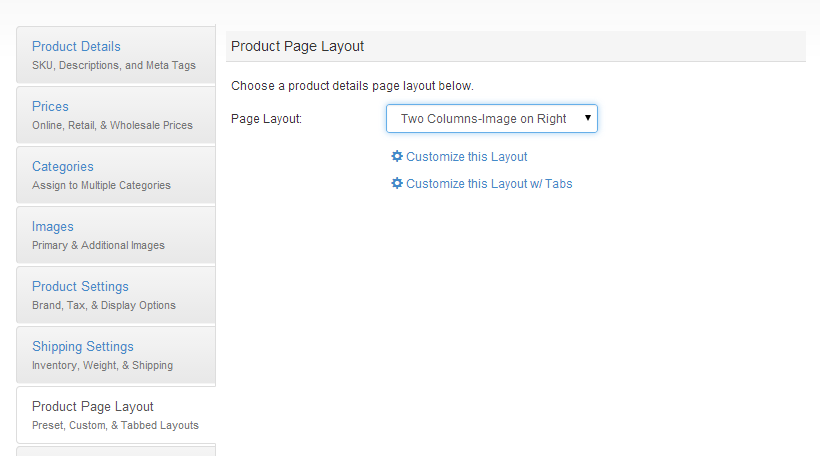
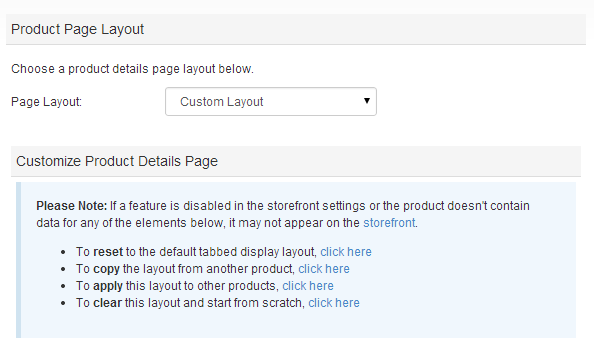
Step 1. Customize Layout
Click "Customize this Layout" to load the currently selected layout into the custom layout editor, or click "Customize this Layout w/ Tabs" to add the default tabs to the custom layout.
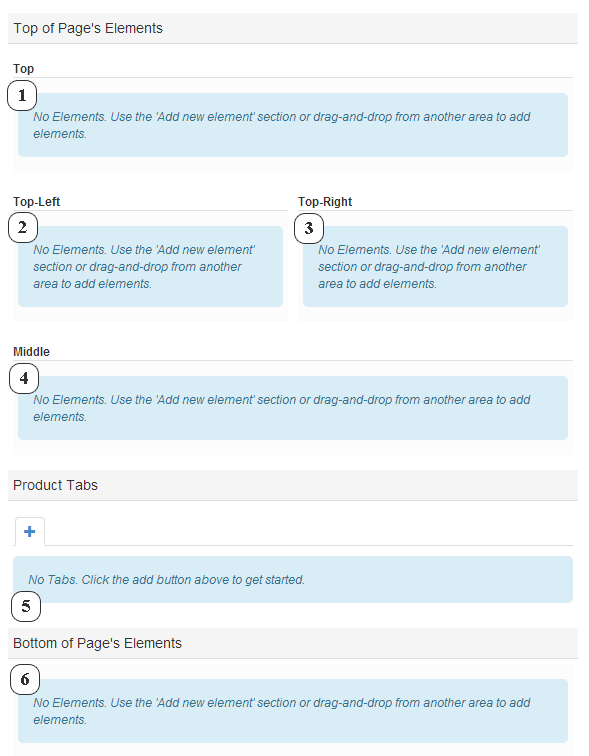
Step 2. Click, Drag, and Drop to Rearrange Your Page Elements
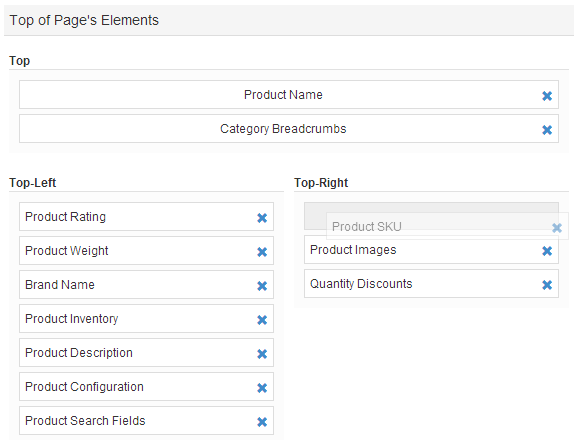
There are a total of 6 different areas where you may place page elements in. Below is an illustration of those areas.
- Top Area - Full width and at the top of the page.
- Top Left Area - Half width, left aligned, and below the Top Area.
- Top Right Area - Half width, right aligned, and below the Top Area.
- Middle Area - Full width, center aligned, and below the Top Left Area and Top Right Area.
- Product Tabs - Full width, left aligned, featuring an unlimited number of possible tabs. Below the Middle Area and above the Bottom Area.
- Bottom Area - Full width, left aligned, and below the Product Tabs.
To add elements to the top, middle, or bottom areas, use the Add new element toolbox:
And top add elements to the tab area, first add a tab (if you don't have one already), give it a name, and use the Add new element toolbox below the tabs area:
Once you have added elements to your layout, you can drop and drop to re-order them and move them between any of the areas (including tabs):
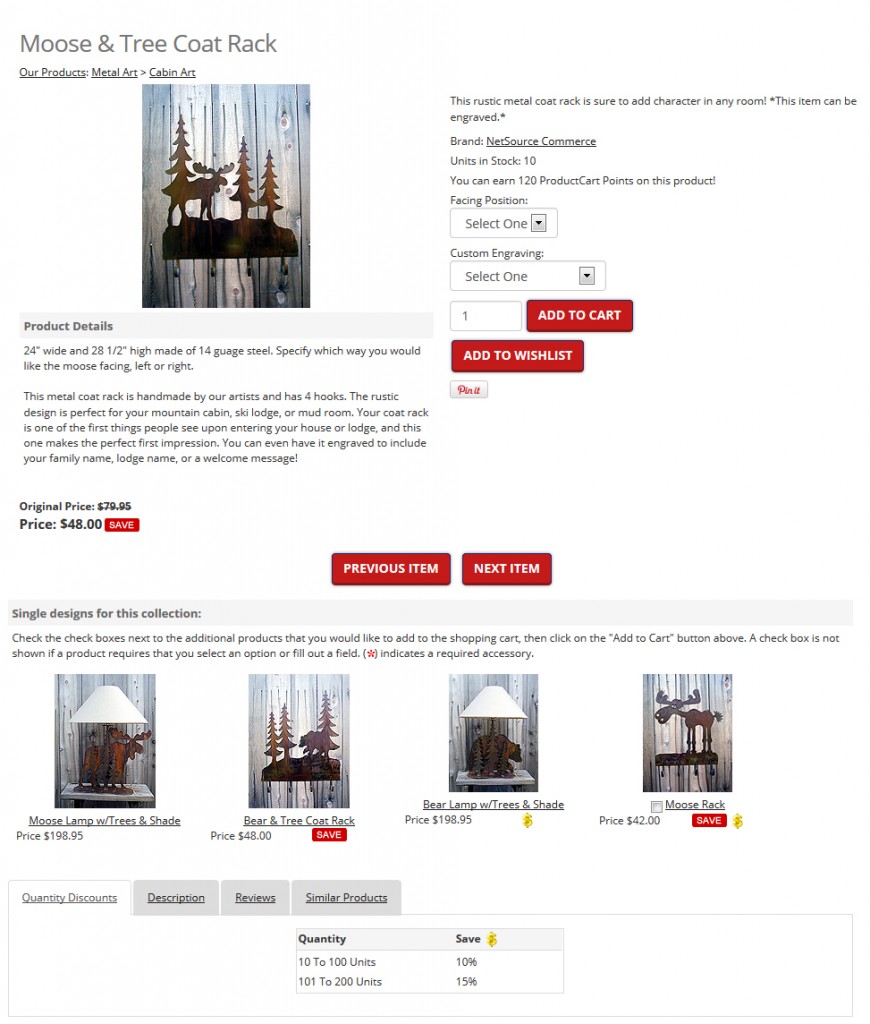
Step 3. Click "Save" and preview your new layout
When you're ready to try out your newly customized product layout, click "Save", then hit the Preview link at the top of the page. You should be able to see most elements where you positioned them on the configuration page. Some elements may not appear if the product doesn't have data for that particular element (i.e., the Product Input Fields if no input fields have been assigned to that product).
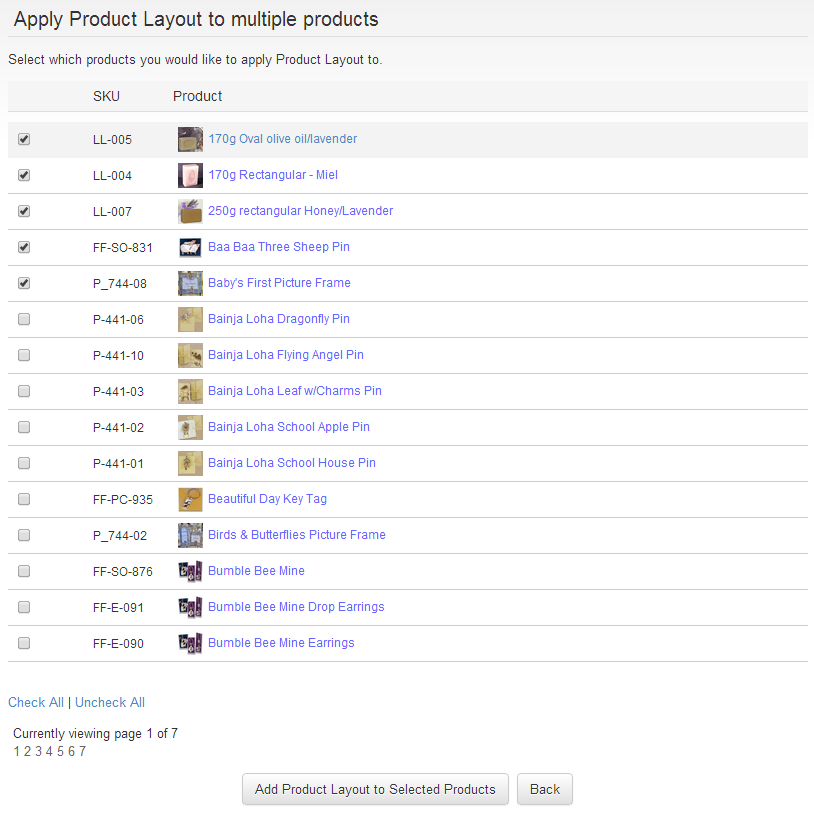
Step 4. Apply layout to more products and more options
Once you've setup a layout that you like on one of your products, you can then apply it to other products however you need. To do so, scroll to the top of the Product Page Layout tab and use the tools in this section:
There are several actions you can perform on a custom layout if you choose to do so.
- Reset to default tabbed layout: This will reset the custom product layout to the "default" as defined in ProductCart, which is essentially the Two Columns-Image on Right layout.
- Copy the layout from another product: If there is another product with a custom layout, you can use this option to copy the layout from that product to the current product.
- Apply this layout to other products: Once you've setup a layout that you like and you'd like to apply to other products in the store, use this option. A quick walk through of how to do this is provided below.
- Clear this layout and start from scratch: This will completely clear out the custom layout form, removing all elements and tabs that have been previously customized. This is useful if you want to start from scratch to build a custom product layout.