Upload Store Icons
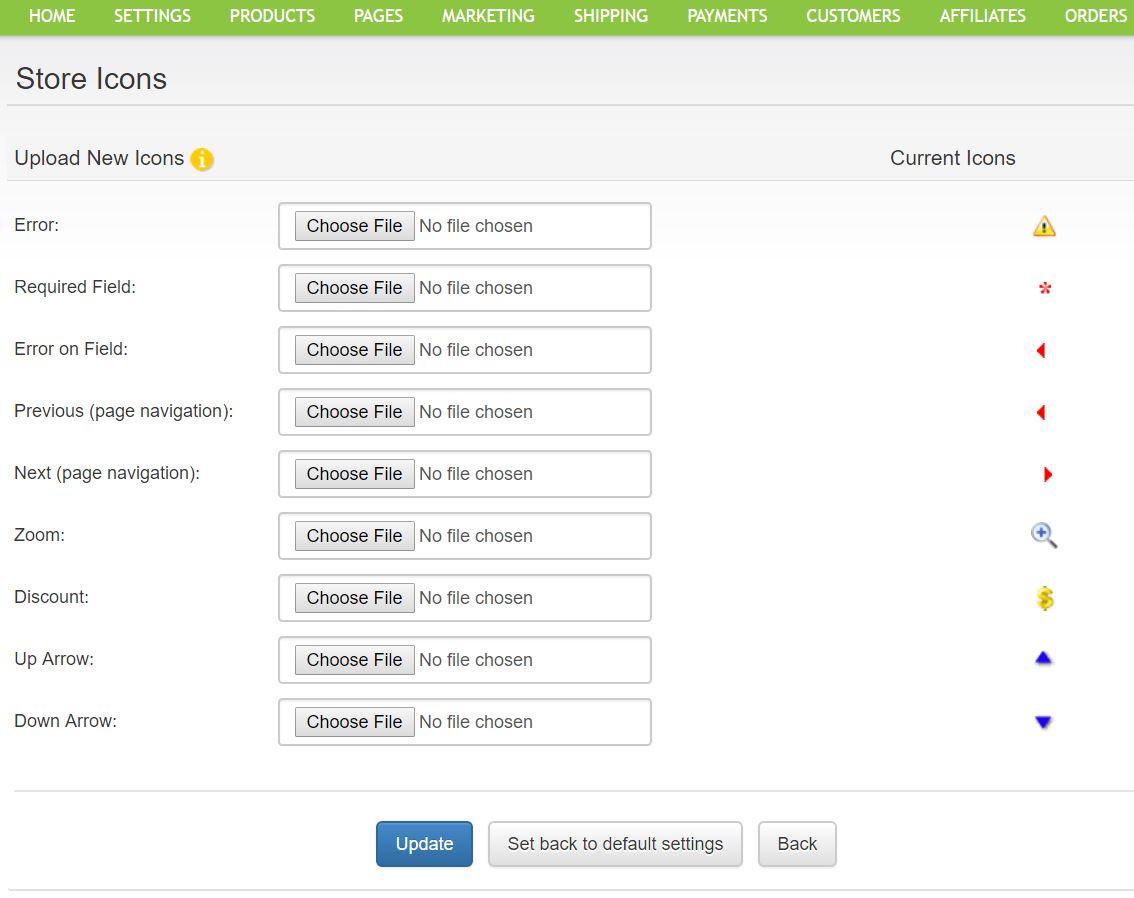
Similar to what you can do with your store's buttons, you can customize the appearance of your shopping cart icons by uploading new icons to your Web server. From the
Settings menu, select
Edit Store Icons.

Here is a list of the store icons that you can customize in ProductCart:
If you change the default icon for "Required Field" (i.e. you upload a new one using the Edit Store Icons feature), you will need to create a “pcadmin/images/pc/” folder (the pcadmin folder has probably been renamed) and upload a copy of the image there via FTP.

Here is a list of the store icons that you can customize in ProductCart:
- Error – Shown when an error or warning message is displayed.
- Required Field – Shown on registration forms (e.g. when a new customer checks out)
- Error on Field – Displayed when a required field form has not been filled out
- Previous and Next Page – Automatically added to product and category pages when the total number of products or categories set in the Display Settings area is smaller than the number of products or categories in your catalog.
- Zoom – Shown on product details pages only when a Detail View Image has been specified for the product. The larger image opens up in a pop-up window when users click on the icon. The pop-up window is automatically resized to fit the image.
- Discount – Shown on product details and other pages when quantity discounts have been setup for a product.
If you change the default icon for "Required Field" (i.e. you upload a new one using the Edit Store Icons feature), you will need to create a “pcadmin/images/pc/” folder (the pcadmin folder has probably been renamed) and upload a copy of the image there via FTP.

